Some time ago I though about going deeper into Linux, than sticking only to GUI. But how? By building my own server at home! After few months of maitaining it, learning on my and hardware errors I think It’s a great opportunity for IT people, especially software devs to discover this exiting new world!
Hardware
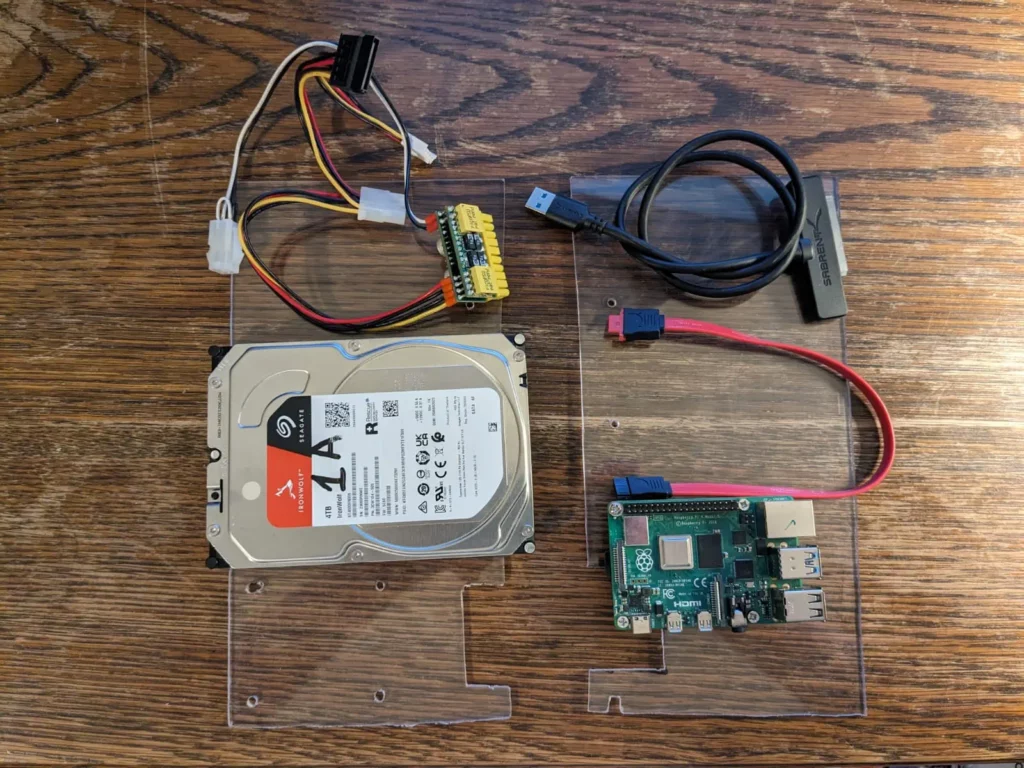
I didn’t want to go very complex. There’s a lot of hardware solutions, aftermarket small racks, old PC’s that you can try. I went into solution more home friendly in terms of space, power usage (even it’s not a big deal on Iceland itself), space, loudness: Raspberry PI. I had model 4 with 4GB of RAM from my partner.
Storage
For storage I decided to buy a new HDD designed for NAS systems – 4GB Seagate IronWolf. It’s relatively cheap and, what’s most important, quiet. You can find even cheaper data center scoped HDD’s like Ultrastars made by WD (price-storage ratio is really good) but biggest problem is that they are loud. Nobody cares about the noise in big data centers, so to lower the priduction costs – thy’re not silenced. It won’t be comfortable to have a loud device that’s intended 24/7. I can think of those drives only if I’d store my server somewhere else than living space 🙂
Power supply
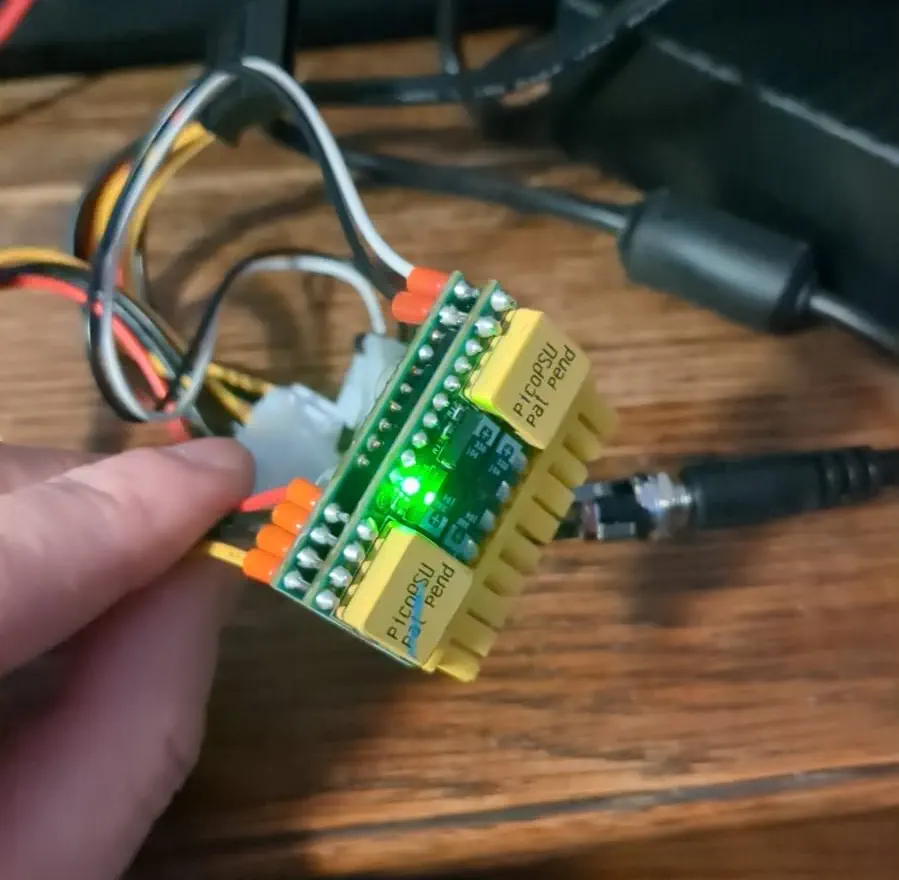
Because I’m using 3.5 HDD I needed an additional power supply. RPi delivers 5V output on GPIO, my system needed 12V. After spending a bit of time browsing through different solutions I decided to use ATX PICO PSU. I came over a good deal on 120W version. It’s a bit an overkill considering that RPi draws between 5 and 7 watts, HDD 6-9 watts (9W on startup) but I might use it in a different projects or add more hardware to my server. There are a lot of different power versions but in overall it’s easy to choose.
Case
That was the biggest challenge so far and to be honest… still is! I didn’t want to go for a ready-to-go solution like RPi cases that you could buy on Amazon. I thought about something more original.
Why shouldn’t I try to build my own?
Very, very lost myself 😉
In Icelands biggest charity store (Góði Hirðirinn) I found a small air humidifier. It’s shape was challenging but overall it was very cheap.
I needed something that will hold all the “guts” inside the case. After small research and a visit in a specialised shop I went for PE plates. Easy to cut, drill, not very expensive, temperature resistant (at least those that my server would produce 😉 ). Perfect material for testing!
After some cutting I put everything together.


Problems I’ve encountered
Power supply
ATX power supply to work need one circut to be closed. There is a “garage” solution by putting paper clip into PS_ON pin and a ground (COM) but I didn’t liked it. I bought simple I/O switch, ATX pins, did some soldering and came with a simple plug. Switch also works for turning on and off the whole system.
Powering RaspberryPi
You can do this in two ways. Using USB-C dedicated cable or simply by connecting power to computer’s GPIO. I wanted to use as small amount of cables as possible. I soldered few cables ant that came out with another home-made plug. To stabilize the voltage I used two 5V pins on GPIO. According to official RPi documentation it is absolutly allowed and should’t bake very sensitive to voltage changes RPi.


Cooling
while it’s not necessary in this setup I wanted to go for it just for testing purpose. First I got and an Arctic Cooling F12 PWM 120mm fan. I had a problem with this fan and a Python script I wrote for PWM control. Decision has been made to change the fan for 80mm Noctua. PWM works really great with my script.
Fan voltages
Fan works on 5V. PWM signal have a 5V charge but RPi GPIO deliveres 3.3V. There was a need of using level shifter (3.3V <-> 5V). Some users say it works also well without, but knowing how sensitive about voltage RPi is I wanted to do it properly.
Update
Few months later I found even better case (also in the same charity shop and also an air humidifier). After some few changes to the design I moved from old case to a new one.


